
Do you ever wonder if you’re giving your spider plant just the right amount of hydration? In this guide, you’ll discover everything you need to know about watering your spider plant for lush, healthy growth. By understanding its water needs and using simple techniques, you can transform your indoor green friend into a thriving beauty. Let’s dive into the art of how often to water spider plants and master the balance between hydration and overwatering.
Table of Contents
Introduction: Connecting with Your Green Companion
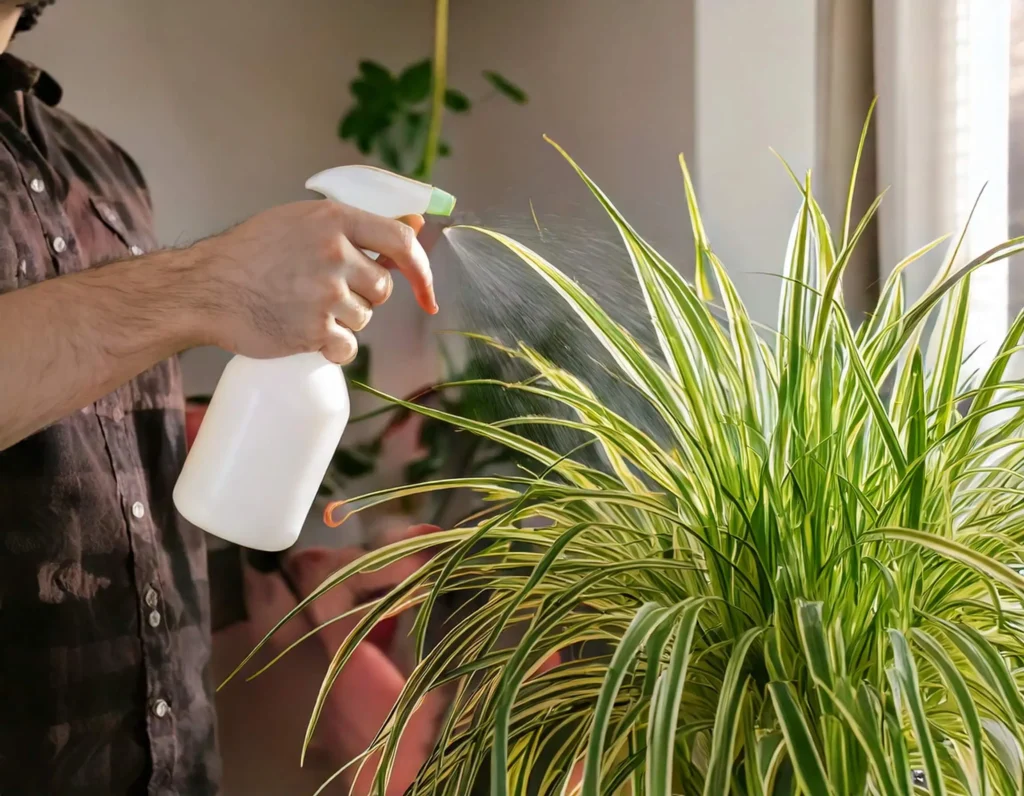
Imagine coming home after a long day and being greeted by a vibrant, cascading spider plant. Its arching leaves and playful baby plantlets not only purify your air but also add an organic, soothing vibe to your space. You want your plant to flourish, but if you overwater or underwater it, that delicate balance can be lost. This guide is designed just for you—using practical advice, simple steps, and expert tips to help you become confident in your spider plant care routine. Whether you’re new to indoor gardening or looking to refine your skills, this comprehensive article covers everything from watering frequency to propagation tips.
How Often to Water Spider Plants: The Golden Rule
Watering is one of the most crucial aspects of spider plant care. While these resilient plants are forgiving, knowing exactly how often to water spider plants can make all the difference.
- General Recommendation:
Most experts agree that a good starting point is to water your spider plant once a week. - Adjusting for Environment:
In a warmer, drier climate or if your plant is in a bright, sunny spot, you might need to water more frequently—sometimes every 5–7 days. Conversely, in cooler or more humid conditions, watering every 10–14 days may be enough.
Remember, the key is to check your plant’s soil before watering. Stick your finger into the top 1–2 inches of soil; if it feels dry, it’s time to water.
Quick Tip: For an extra measure, consider investing in a soil moisture meter. It helps you determine precisely when your plant’s soil needs water, reducing the risk of both underwatering and overwatering.
Understanding Your Spider Plant’s Water Needs
Spider plants, or Chlorophytum comosum, have adapted to survive periods of drought thanks to their thick, water-storing roots. However, their overall health depends on a balanced watering routine. Let’s break down the factors that affect your watering schedule.
Factors Affecting Watering Frequency
- Light Exposure:
If your spider plant receives bright, indirect light (or even some direct morning sun), the soil will dry out faster. This is why many ask, “how often do you water a spider plant?”—it largely depends on your plant’s lighting conditions. - Soil Type:
Using a well-draining spider plant soil mix that incorporates perlite or sand can prevent water from sitting around the roots, reducing the risk of root rot. - Humidity and Temperature:
In environments with low humidity and high temperatures, your plant may require more frequent watering. During winter or in a cooler room, the watering frequency can be reduced. - Pot and Drainage:
A container with proper drainage holes is essential. If water accumulates at the bottom, it may harm the roots despite your best efforts.
Recognizing the Signs Your Spider Plant Needs Water
Keep an eye out for these indicators to determine if your plant is thirsty:
- Leaf Wilting:
When the leaves start to droop or look limp, it might be time for a drink. - Spider Plant Yellow Leaves:
Yellowing of the leaves can be a sign of underwatering. - Spider Plant Brown Tips:
Brown tips can indicate either underwatering, over-fertilizing, or even exposure to low humidity. Adjust your watering routine if you see these signs. - Weight of the Pot:
Lift your pot. If it feels significantly lighter than usual, chances are the soil is dry.
Step-by-Step Guide: How to Water Your Spider Plant Properly
Now that you understand when to water, let’s go through the proper watering technique to ensure every drop counts.
1. Prepare Your Water
- Room-Temperature Water:
Use water that’s at room temperature to avoid shocking your plant’s roots. - Filtered or Distilled Water:
Tap water often contains chemicals like chlorine or fluoride that can build up in the soil and cause spider plant brown tips. Switching to filtered or distilled water can prevent this issue.
2. Water Evenly Around the Plant
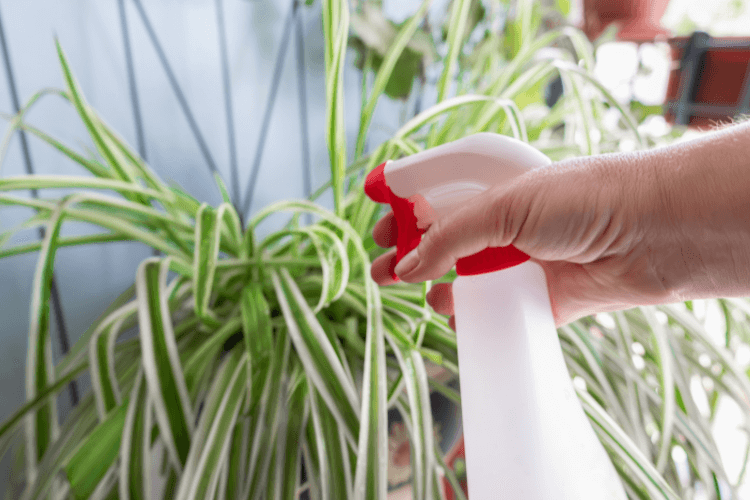
- Top Watering:
Slowly pour water evenly around the base of your plant, ensuring that the soil absorbs it well. Avoid splashing the leaves too much to prevent fungal issues. - Allow for Drainage:
Make sure excess water drains out completely. If your pot doesn’t have drainage holes, consider repotting your plant into one that does or gently remove excess water after watering.
3. Check Soil Moisture Post-Watering
- Finger Test:
After watering, wait a few minutes and then test the soil again with your finger to ensure it is moist but not waterlogged. - Adjust Your Routine:
If you notice that the soil remains soggy for several days, reduce the amount of water you give or check for drainage issues.
Pro Tip: Consider bottom watering occasionally. This means placing your pot in a shallow dish filled with water and letting the soil absorb moisture from the bottom. This method can be particularly helpful for ensuring even moisture distribution in compacted soils.
Can Spider Plants Live in Water? Exploring Water Propagation
One of the fascinating aspects of spider plants is their ability to propagate in water. Not only does this give you a fun project to expand your plant collection, but it also demonstrates the plant’s resilience.
Water Propagation Process
- Identify the Spiderettes:
Look for small baby plants (spiderettes) growing at the end of long runners. - Separation:
Using clean scissors, gently snip off a spiderette that has developed roots. - Placement in Water:
Place the spiderette in a clear container filled with room-temperature water. Ensure that the bottom of the spiderette is submerged. - Wait for Root Development:
Over the next few weeks, new roots will form. Once you see a healthy network of roots, the spiderette is ready to be potted in soil.
Benefits of Water Propagation
- Visual Appeal:
Watching your spider plant develop roots in water is both fun and educational. - Ease of Propagation:
It’s a straightforward way to multiply your plants without complex techniques. - Health Check:
Propagating in water allows you to monitor root health before transferring the plant back to soil.
Remember: While spider plants can thrive in water temporarily, for long-term growth and spider plant care, they need to be repotted into well-draining soil.
Advanced Tips for Keeping Your Spider Plant Lush & Healthy
Beyond proper watering, there are additional care tips that can help your spider plant reach its full potential.
Optimize Light Exposure
- Indirect Bright Light:
Place your plant near a window that receives indirect sunlight. Too much direct sun can scorch the leaves, leading to spider plant brown tips. - Rotate Regularly:
Rotate your plant every few weeks so that all sides receive equal light exposure.
Fertilization and Nutrient Management
- Balanced Fertilizer:
Feed your spider plant a balanced, water-soluble fertilizer every 4–6 weeks during the growing season (spring and summer). - Avoid Over-fertilizing:
Excess nutrients can build up in the soil, causing brown leaf tips and spider plant yellow leaves. Follow label directions and reduce feeding during winter.
Repotting and Soil Renewal
- When to Repot:
Repot your spider plant every 1–2 years or when you notice that the roots have become crowded (a sign of repotting spider plant needs). - Soil Choice:
Use a well-draining potting mix enriched with perlite or sand. This ensures that the plant’s roots receive both water and air. - Signs It’s Time to Repot:
Look for signs like slow growth, waterlogged soil, or a heavy pot that feels unusually light when lifted.
Addressing Common Problems
- Brown or Yellow Leaves:
These may indicate improper watering, low humidity, or fertilizer burn. Adjust your watering schedule and consider using filtered water. - Pest Control:
Inspect your plant regularly for pests such as spider mites, aphids, or mealybugs. Wipe the leaves gently with a damp cloth or use an insecticidal soap if necessary.
Creating a Balanced Watering Schedule Table
Below is a simple watering schedule table you can adapt to your conditions:
| Condition | Watering Frequency | Notes |
|---|---|---|
| Indoor, bright indirect light | Every 5-7 days | Check soil moisture; increase frequency in summer |
| Indoor, low light | Every 10-14 days | Reduce watering in winter; monitor for dryness |
| Outdoor, warm climate | Every 4-6 days | Use filtered water to prevent mineral buildup |
| Winter months | Every 10-14 days | Allow soil to dry slightly; avoid cold drafts |
Tip: Always adjust the schedule based on your environment and the specific needs of your plant.
Frequently Asked Questions
Q: How often do you water a spider plant?
A: Generally, watering once a week is a good rule of thumb, but always check the top inch of soil. If it’s dry, it’s time to water. In low light or cooler environments, you might stretch that to every 10–14 days.
Q: How often should you water a spider plant?
A: It depends on conditions. If you live in a hot, dry climate or your plant is in bright, indirect light, you might need to water more frequently (every 5–7 days). In cooler, more humid conditions, watering every 10–14 days may be sufficient.
Q: Can spider plants live in water?
A: Yes, spider plants can be propagated in water successfully. However, for long-term growth, they need to be potted in well-draining soil.
Q: What are the signs of overwatering?
A: Overwatering can lead to yellowing leaves, mushy stems, and a general decline in plant vigor. If the soil remains wet for too long or your plant’s pot feels very light, you might be overwatering.
Q: Do spider plants need direct sunlight?
A: No, spider plants prefer bright, indirect sunlight. Direct sunlight can scorch their leaves, causing spider plant brown tips.
Q: What type of soil should I use for my spider plant?
A: Use a well-draining potting mix formulated for houseplants. Adding perlite or sand can help improve drainage, which is critical for avoiding root rot.
Q: How do I know when to repot my spider plant?
A: Repot your plant when you notice that the roots are crowded, the soil no longer retains moisture properly, or if growth has slowed. Typically, repotting every 1–2 years is recommended.
Conclusion: Your Journey to Lush, Vibrant Spider Plants
By now, you should feel confident about how often to water spider plants and how to balance their water needs with other essential care elements. Remember, every spider plant is unique, and adjusting your routine based on its specific environment—light levels, humidity, and soil type—will yield the best results. Embrace the process of learning and adapting your care routine, and soon you’ll see your plant flourish with vibrant green leaves, graceful arching fronds, and an abundance of baby plantlets.
Ready to take your indoor gardening skills to the next level? Start by checking the soil of your spider plant today, adjust your watering schedule as needed, and watch as your plant rewards you with lush, healthy growth. Share your progress and any questions in the comments below—we’d love to hear about your journey!
Call to Action
If you found this guide helpful, don’t keep it to yourself!
- Share this article on social media to help fellow plant enthusiasts learn the secrets of spider plant care.
- Subscribe to our newsletter for more expert tips and the latest in indoor gardening trends.
- Leave a comment with your spider plant success stories or any questions you may have—let’s grow together!
Your green oasis awaits, so start nurturing your spider plant today and transform your space into a vibrant, healthy haven.
Embrace your inner plant parent and enjoy the journey to a thriving indoor garden!